Facebook is at it again. First they invaded your privacy with
to share users' home addresses and mobile phone numbers with third-party developers and websites.
Due to user feedback, Facebook had halted the approval of this feature (which some would call a misnomer), but they still plan on releasing this update in the near future.
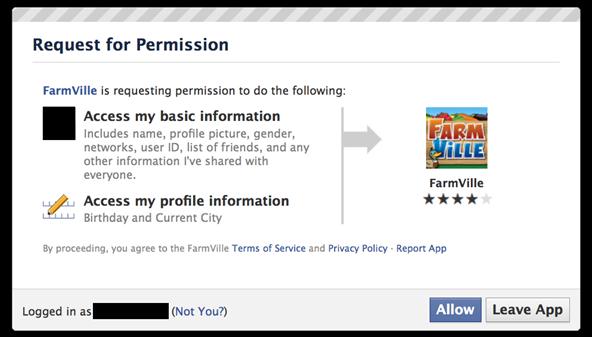
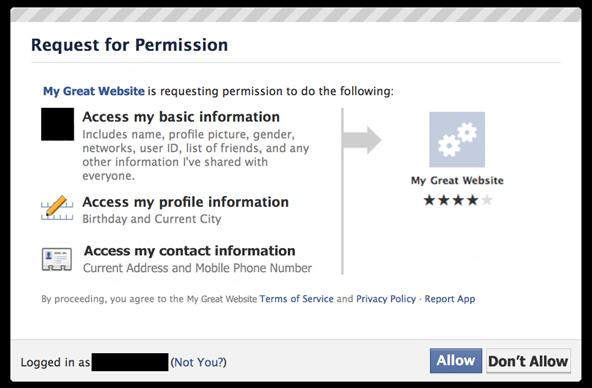
As of right now, a third-party application or website request permission to access certain information from your Facebook profile, including name, profile picture, gender, networks, user ID, friends list, current city and birthday. Also, all information that you currently share with everyone is fair game.
When Facebook updates the developer code for added information sharing, including your current address and mobile phone number, it will then look something like this:
This new permission request might just make you rethink your Facebook usage. Or at least, make you want to adjust your Facebook profile to lessen privacy invasion and keep your information secure. Below are some of the most important privacy settings you should consider on Facebook. All steps assume you are already logged in.
Disable Instant Personalization
One of the most recent updates on Facebook was a feature called Instant Personalization, which shares your personal data with not only Facebook, but non-Facebook partner sites, like Bing, Rotten Tomatoes, Pandora and Yelp. It is automatically enabled by default.
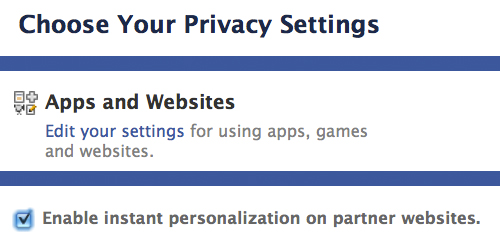
To disable Instant Personalization:
1. Click on the
Account tab in the top right-hand corner.
2. From the drop-down menu, select
Privacy Settings.
3. Click on
Edit your settings in the bottom left, under
Apps and Websites.
4. Click on for
Edit Settings for
Instant Personalization.
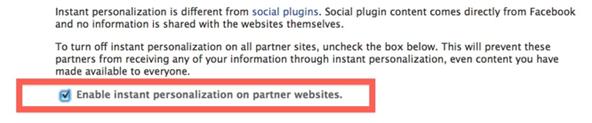
5. At the very bottom,
un-check the box that says
Enable instant personalization on partner websites.
Step 2 Remove Your Contact Information
It's the most obvious step to keeping third-parties away from your contact information, and it's quite possibly the least complicated. To remove your contact information:
1. Click on the
Profile tab in the top right.
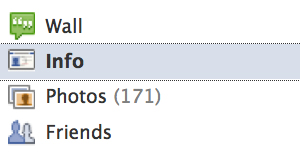
2. Click on
Edit inside the
Contact Information section.

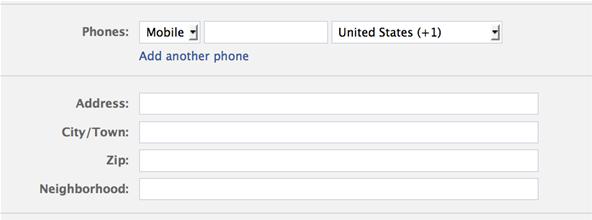
3. Make sure all of your
Phone and
Address information is blank. Then, click the
Save Changes button at the bottom.
Step 3 Remove Your Profile from Facebook Search
If your profile is opted in to be viewed in Facebook Search, then everyone can access your profile page, albeit without total access. But regardless of your privacy settings, it's best to make yourself invisible to everyone with Internet access.
1. Click on the
Account tab.
2. Choose
Privacy Settings from the drop-down menu.
3. In the
Connecting on Facebook section at the top, click on
View Settings.

4. In the
Search for you on Facebook section, make sure your privacy settings are set to
Friends Only.

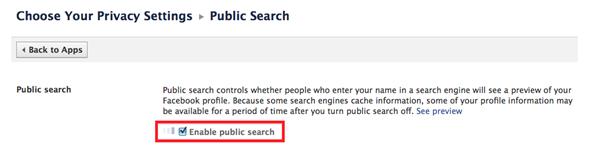
Step 4 Remove Your Profile from Google
Not only can people search for you on Facebook, but they can search for you via Google, Bing and any other search engine. To turn public search off:
1. Click on the
Account tab.
2. Choose
Privacy Settings.
3. Click on
Edit your settings in the bottom left, under
Apps and Websites.
4. Find
Public search and click on
Edit Settings.

5. Make sure to
un-check the box for
Enable public search.
Step 5 Adjust Your Sharing Preferences
There's a whole lot to share on Facebook—photos, videos, relationship status, birthdays—you get the picture. Go to
Privacy Settings page and check out the
Sharing on Facebook section, which reveals who's seeing what.
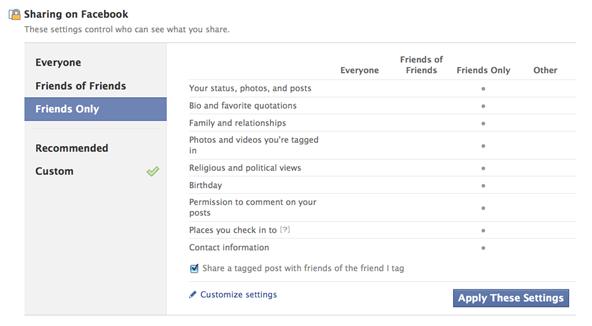
For the total security, you should make everything accessible to
Friends Only. Just click on that and
Apply These Settings and automatically transform all options to Friends Only viewing. If you want total control, you can opt to customize your own settings instead.
This applies to all of the following: Your status, photos, posts, bio, favorite quotations, family and relationships, photos and videos you're tagged in, religious and political views, birthday, permission to comment on your posts, places you check in to, and contact information.
Step 6 Control Application Access
If you already have third-party apps connected to your Facebook, then perhaps it's time for a little spring cleaning. Go to the
Apps and Websites page (outlined above) and find the
Apps you use section.
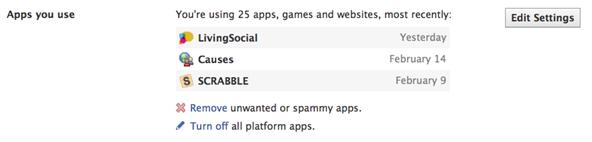
There's really only two options here, despite the feeling of three.
Turn off will opt you out of all third-party applications, which is just the thing to secure your data. But who is really going to get rid of all their apps? Most likely, no one. Then you're left with the other choices—
Remove and
Edit Settings, which are the exact same thing. You can remove any applications that you deem mistrustful. in the photo below, you can see just how much information one app can gobble up.
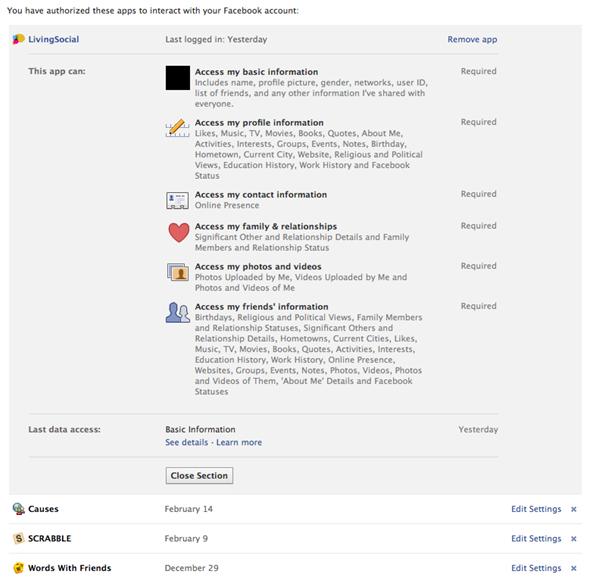
Make sure to remove any apps that you're no longer using or no longer want, in addition to possible malicious ones.
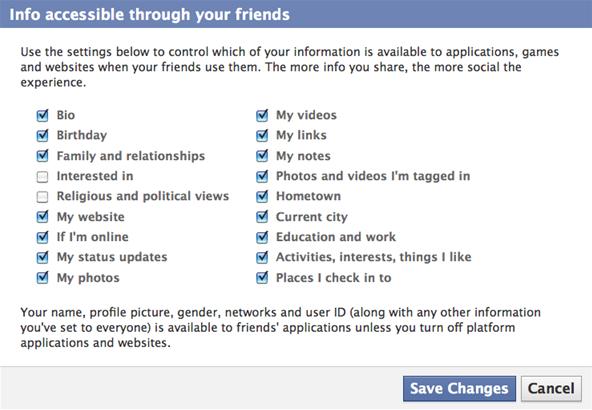
Step 7 Control Information Accessible to Friends
In addition to the above step, make sure to consider what happens when your friends use the same apps you do. From the
Apps and Websites page, click
Edit Settings from the
Info accessible through your friends section.

Here, you control what information is available to applications, games and websites when your friends use them.
Step 8 And For God's Sake, Don't Press Allow!
Let's face it—if you're on Facebook, chances are your information is going to get into someone's sleazy hands. So make sure you follow the golden rule to safeguarding your privacy—
NEVER CLICK ALLOW!
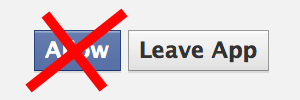
If a third-party application or website asks you permission to view any of your information, don't let them. Sure, that means you can't play
FarmVille or
Scrabble, but you can rest assured that no one is playing Sell My Information with your information.
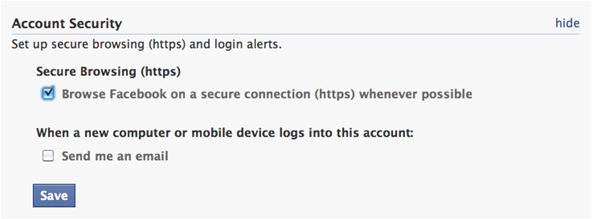
Step 9 And Finally...
One last thing to consider. Stop hackers from accessing your information when on a public network by setting up secure browsing (https) and login alerts. Just go to
Account Settings from the
Account tab and change your
Account Security settings.
Please note, whenever you come across a Facebook page or third-party application that needs to take you out of secure browsing, and you allow it, it will disable it completely and you'll have to go back and reset your preferences. Don't assume it will do it for you when you're done with it.
SOURCE
Facebook


 -My Link
|^_^| :))
:))
 :)]
:)]
 ;))
;))
 ;;)
;;)
 :D
:D
 ;)
;)
 :p
:p
 :((
:((
 :)
:)
 :(
:(
 :X
:X
 =((
=((
 :-o
:-o
 :-/
:-/
 :-*
:-*
 :|
:|
 8-}
8-}
 ~x(
~x(
 :-t
:-t
 b-(
b-(
 x(
x(
 =))
=))